
.svg)


.svg)

.png)
.png)


This post is part of Plyco’s Guide to Veneered Plywood
While we’d all love to be able to just buy the exact perfect size sheet for our project and slot it right in, this is almost never the. More often than not some alterations will need to be made to get the right piece for that desk your making or to fit within the parameters of that new ceiling finish. This is a major reason why we offer a comprehensive cut-to-size service. However, what if you want to do the cutting yourself? This is generally straightforward for a regular sheet of Plywood, but when you add a veneer into the mix things become slightly more complicated.
Whether you realise that you need to make some alterations upon taking it home, or you just want to be able to do it yourself, knowing how to cut Plywood Veneer can be an invaluable skill. This tutorial will teach you the ins and outs of cutting Veneered Plywood to help guarantee your board remains in tip-top condition.
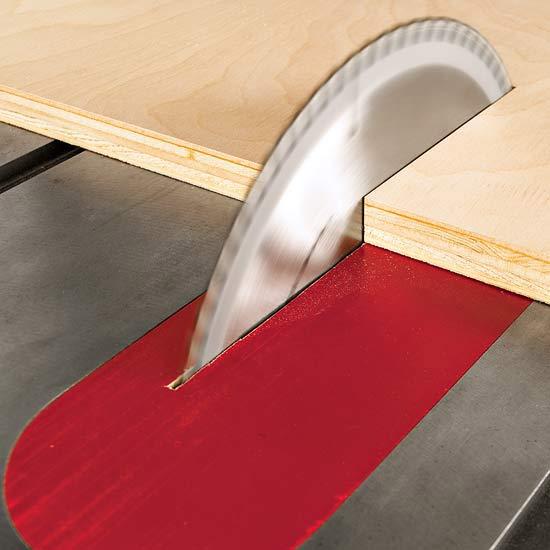
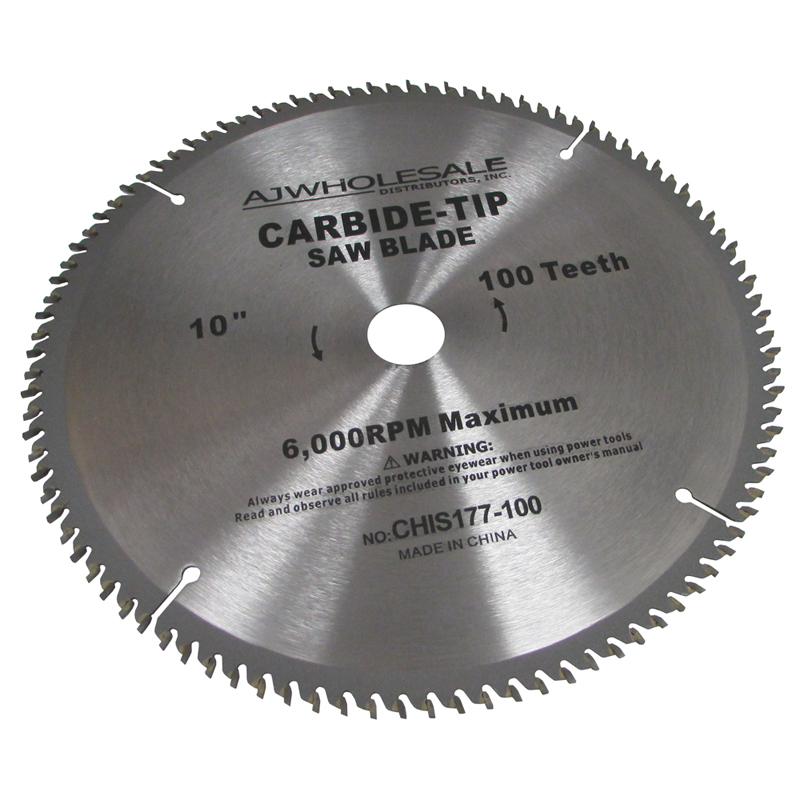
Our first recommendation is to get a saw blade specifically designed for cutting Plywood. You could use a regular blade, but it’s going to give you far less consistent results. Something with high alternate top-bevel teeth should do the trick and produce beautifully clean cuts, and try your best to find one with the highest teeth count possible. You’re also going to want to make sure you have a zero clearance insert handy. If you’re familiar with cutting wood you probably have a regular old insert plate for your circular saw, but if you may have noticed a theme here; your default cutting utensils aren’t always going to cut it when it comes to Plywood.
A zero clearance insert closes the gap around the blade in the throat plate, which dramatically reduces chipping on the back face of your plywood sheet. Chipping can be a common issue with cutting Plywood and this becomes even more prevalent when it comes to Veneered Plywood, so this can be a lifesaver. Zero clearance inserts are available to purchase in many places, but if you’re feeling extra handy and up to there are actually a number of DIY home remedies that you can implement to get the same results on a budget.
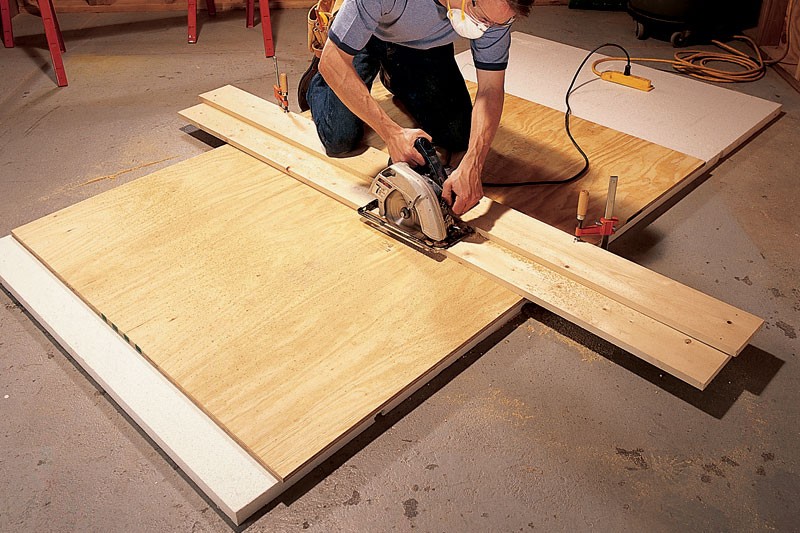
After you’ve assembled all of your tools, it’s time to focus on the actual cutting process. Unfortunately, there’s no single correct way or magic secret to cutting Veneered Plywood. The first thing we recommend doing is checking the alignment of your fence with your saw blade. Your blade should line up perfectly parallel with the fence to get the best cut possible.
Next, make sure you get that blade up nice and high. This is different from the norm, and some people will actually disagree with this method, however, the team at Plyco and many other woodworkers have found it works extremely well. Generally, you’d have the saw blade height set lower, as this ensures maximum safety, but doing so will often result in damaging some of the deeper sheets of ply first, leaving the face unsupported as the blade runs through. If you raise the height of the blade you actually alter the direction that the teeth come in contact with the wood, giving you a more perpendicular cut. Our rule is to adjust your blade so it is just slightly deeper than the plywood you’re cutting, which means the actual measurements for you blade adjustments will vary from project to project.
There are actually several different variations on this cutting process, and we highly recommend experimenting to find which one suits you best. As we mentioned, our experts use this method, but everybody is different so don't be afraid to switch up different parts of the process!
If you find that you’re having a bit of trouble getting a smooth cut, one handy trick we’ve learned over the years is to grab a sharp utility knife and “score” the surface of the veneer. You’re essentially getting the cut started by doing this and it helps guide your blade through the wood. It’s not always necessary, but it’s a nice extra step that can save you a few headaches.
We hope this guide to cutting Plywood Veneers has been helpful. If you’re ready to start making your own cuts head over to our online store where you can browse our entire range. If you want to learn more about Veneered Plywood you check out our posts on Veneered Plywood Applications and the different types of Veneered Plywood.